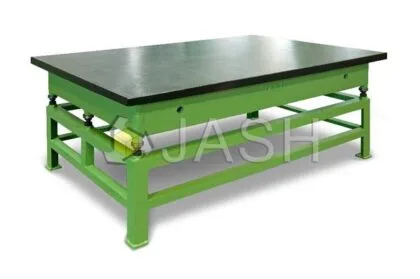
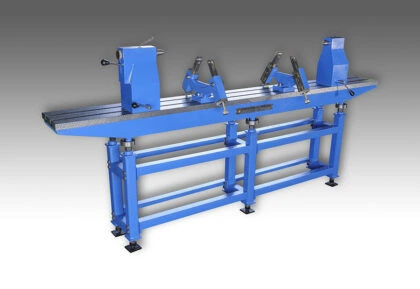
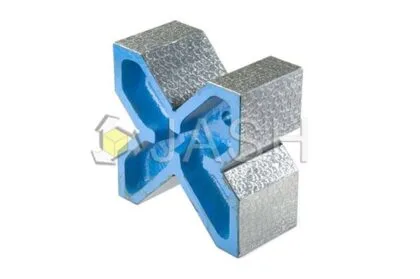
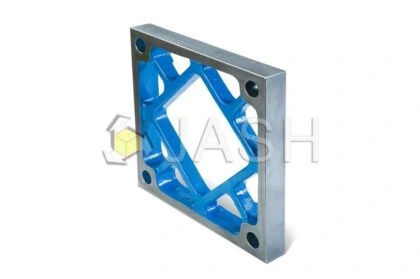
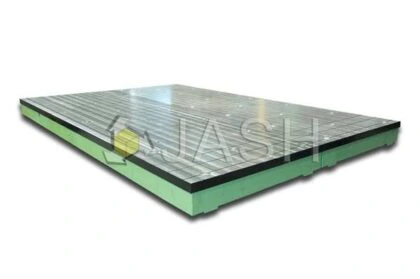
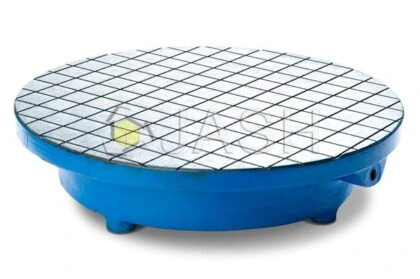
JASH C.I. Surface Plates and Tables serve as a precision reference base for inspection, tool making, gauging, spotting marking and layout operations. Granite or Cast Iron Surface Plates are supported on suitable stand called Surface Tables Stands enable proper levelling of plate and also provide the top surface at a convenient working height of approx. 850 to 900 mm from the floor. The adherence to high quality standards and precise configurations makes JASH a leading surface plate manufacturer and supplier in the industry and one of the best Cast Iron and Granite surface plate manufacturers globally.
Salient Features
- Made generally as per IS: 2285.
- Made from close grained plain cast iron conforming to Grade FG:220 of IS: 210 (equivalent to GG20/ FT20 / 30-A). Higher grades also offered on request.
- Castings stress relieved to relieve internal stresses.
- Sizes upto 2000 x 1000 mm offered in four Grades of flatness accuracies viz Grades 0, 1, 2 & 3 as stated in table.
- Hand scraped surface finish for Grades 0, 1 and 2 flatness accuracies & smooth machined / rough ground / scraped surface finish for Grade 3 flatness accuracies.
- Rigidity requirements as per IS: 2285 ensured in case of Surface Plates of Grades 0, 1 and 2 only.
- Flatness determination done by grid method as per clause 4.3.1 of IS: 12937 Indian standards on Engineering Metrology “Methods of Testing Straightness, Flatness and Perpendicularity”.
- Flatness accuracy checked by Electronic level. Computer print out of the contour of top working surface is furnished.
- Plates up to 630 x 630 mm provided with handles for lifting. Larger plates provided with cored holes in peripheral ribbing for lifting by mechanical means.
- Column type C. I. Floor stands or M.S. Fabricated stands with leveling screws supplied at extra charge, if required.
- Special features like grid slots for location, tapped holes and T-slots can be provided on working surface, if required.
Standard Sizes of Surface Plates / Tables
| Size in mm | Tolerances on overall deviation from flatness in microns as per Indian Standard IS: 2285 | Tolerances on overall deviation from flatness in microns as per DIN 876 | ||||||
|---|---|---|---|---|---|---|---|---|
| L x B | Grade 0 | Grade 1 | Grade 2 | Grade 3 | Grade 0 | Grade 1 | Grade 2 | Grade 3 |
| 160 x 100 | 3.0 | 6 | 12 | 25 | 5 | 12 | 23 | 46 |
| 250 x 160 | 3.5 | 7 | 14 | 27 | 5 | 13 | 25 | 50 |
| 250 x 250 | 3.5 | 7 | 15 | 30 | 5 | 13 | 25 | 50 |
| 400 x 250 | 4.0 | 8 | 16 | 32 | 6 | 14 | 28 | 56 |
| 400 x 400 | 4.5 | 9 | 17 | 34 | 6 | 14 | 28 | 56 |
| 630 x 400 | 5.0 | 10 | 20 | 39 | 7 | 16 | 33 | 65 |
| 630 x 630 | 5.0 | 10 | 21 | 42 | 7 | 16 | 33 | 65 |
| 1000 x 630 | 6.0 | 12 | 24 | 49 | 8 | 20 | 40 | 80 |
| 1000 x 1000 | 7.0 | 14 | 28 | 56 | 8 | 20 | 40 | 80 |
| 1600 x 1000 | 8.0 | 16 | 33 | 66 | 10 | 26 | 52 | 104 |
| 2000 x 1000 | 9.5 | 19 | 38 | 75 | 12 | 30 | 60 | 120 |
